
Many people wonder: how are custom facial implants designed? A custom facial implant begins with detailed imaging of the patient’s skull. The scan is used to create a three-dimensional model, which guides the implant’s shape and dimensions. The surgeon reviews the proposed design before manufacturing and surgical placement. Published clinical studies describe this process for implants involving the chin, jaw, cheeks and other facial regions. [1] [2]
Understanding how custom facial implants are designed can help patients take part in planning. They can review the proposed changes, discuss their preferences and understand how the implant will fit their anatomy.
Key takeaways
- Custom facial implant design usually starts with CT or CBCT imaging to create a three-dimensional model of the facial skeleton.
- Projection, width, height and contour can be adjusted for each patient, including differences between the left and right sides.
- PEEK and titanium can both be used to manufacture patient-specific facial implants.
- The surgeon reviews the implant’s shape, anatomical fit, surgical access and fixation before final approval.
Step 1: Creating a 3D model from a CT scan
How CT and CBCT scanning work
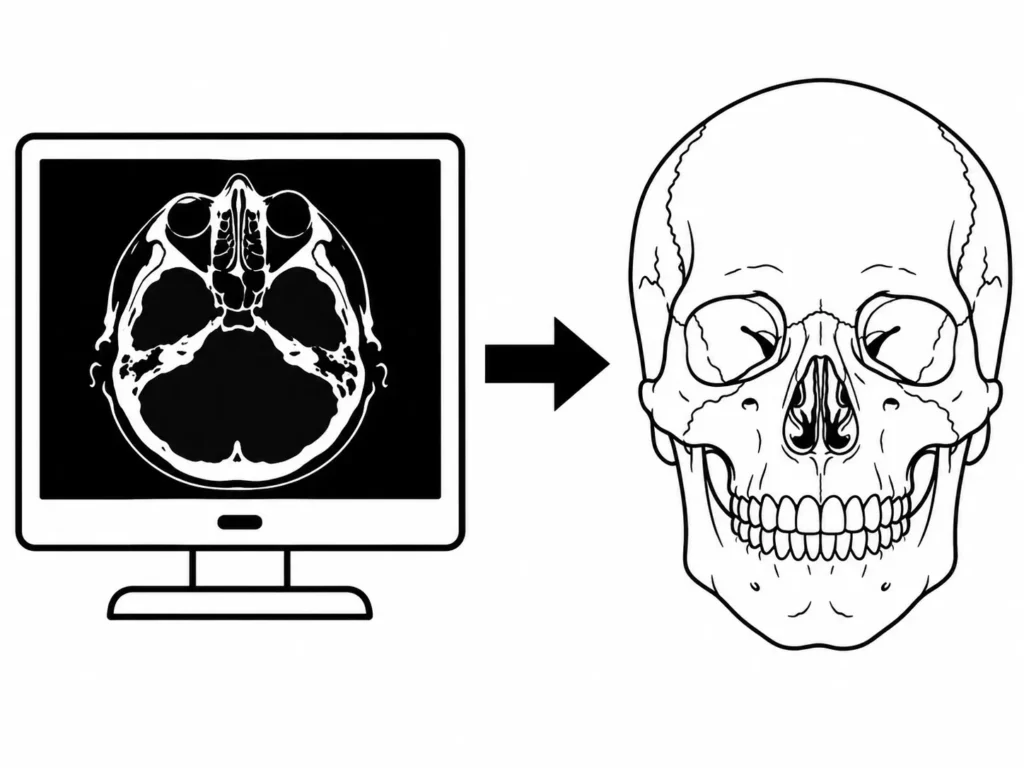
Planning usually begins with a CT scan for facial implants or cone beam computed tomography (CBCT). Both methods provide detailed images of the facial skeleton that can be reconstructed into a three-dimensional model. Published implant workflows have used both imaging techniques. [1] [3]
The model allows the designer to examine the chin, jaw angles, cheekbones and other structures in detail. It also helps identify differences between the two sides of the face.
Imaging is useful for assessing the bone surface where the implant will sit, particularly when previous surgery or an existing skeletal deformity has changed the anatomy. [1] [2]
The scan is only part of the assessment
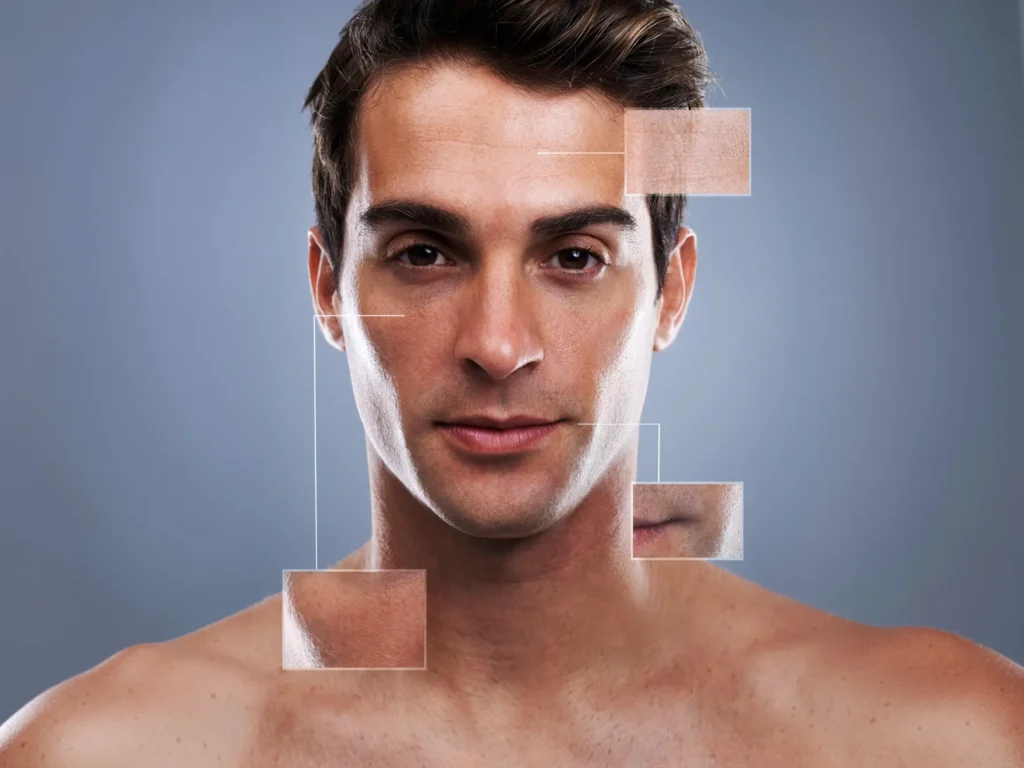
A skull model does not tell the whole story. Skin, fat and muscle also affect the visible facial contour.
A published computer-assisted planning study used soft-tissue simulations to estimate the appearance after implant placement. The study involved one patient, so its results cannot establish the accuracy of these predictions for everyone. [4]
Clinical photographs, facial examination and the patient’s goals remain part of planning. A proposed skeletal change needs to be assessed alongside the soft tissues covering it. [4] [5]
Step 2: Studying facial proportions and existing anatomy
Deciding what needs to change
Before designing an implant, the intended correction must be defined.
One patient may want greater chin projection. Another may need more width at the jaw angles, while someone with a deficient midface may require augmentation across several cheek regions.
Published studies describe patient-specific facial implants used for these different anatomical problems. [1] [2] [6] [5]
The designer can examine the three-dimensional model and plan changes in projection, lateral width, vertical height and contour. These dimensions are considered together because adding volume in one area can change the appearance of the surrounding facial structures.
Planning each side separately
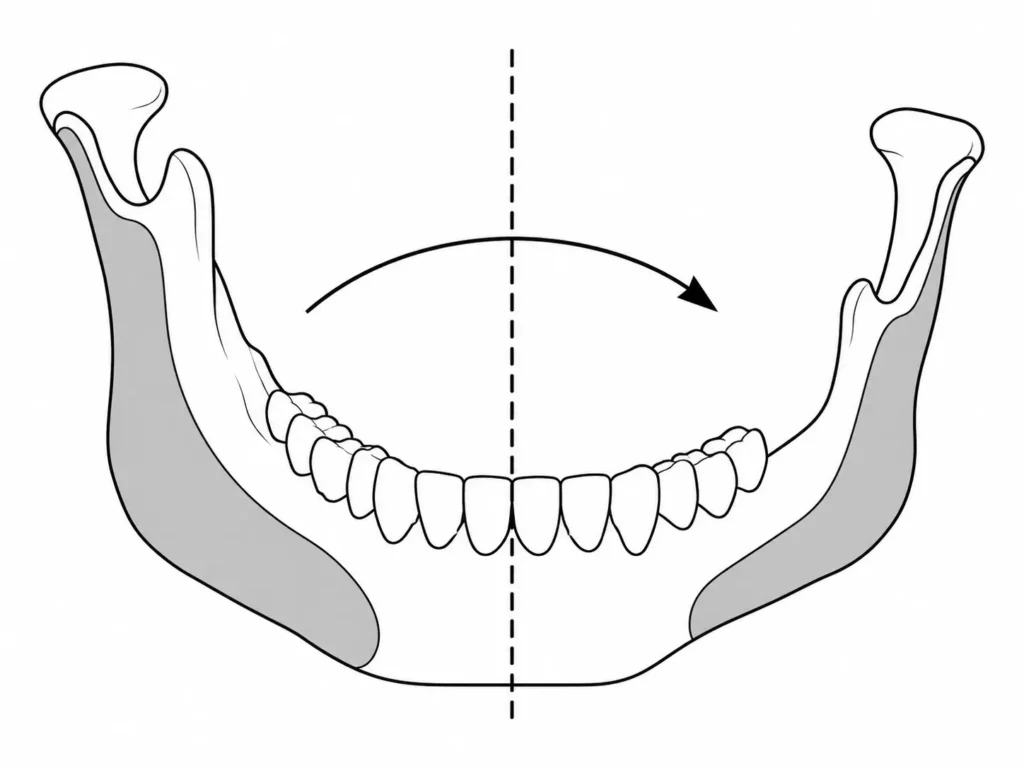
Facial asymmetry is one reason patients consider custom implants.
When the two sides of the skull differ, they may require different implant dimensions. Computer-assisted planning allows each side to be assessed individually.
Researchers have described mirroring techniques that use the healthier or less affected side as a guide. Kerkfeld and colleagues used CBCT imaging and digital planning to develop patient-specific PEEK implants for patients with craniofacial malformations. [3]
Mirroring can guide facial asymmetry correction, but the final shape still depends on the patient’s anatomy and the intended result.
Step 3: Designing the implant in three dimensions
Building the proposed contour
Once the anatomy and treatment goals are established, 3D facial implant planning begins.
The designer creates an implant that follows the underlying bone. Its inner surface is shaped to fit the implantation site, while the outer surface provides the proposed augmentation. Published workflows describe adjusting implant geometry through computer-assisted planning. [2] [4] [5]
Thickness can vary across the implant. A custom jaw implant, for example, may provide greater volume at the mandibular angle and a smaller change along the jaw body.
Facial Nexus can connect patients with an independent implant designer to discuss their preferred contours. The proposed design is then reviewed by the operating surgeon.
Why smooth transitions matter
The edges of an implant need attention because an abrupt change in contour may create a visible or palpable border.
In a 2026 clinical series involving patient-specific midface PEEK implants, designers tapered the peripheral margins to approximately 0.5 to 1.0 mm to reduce palpable edges and visible step-off deformities. [5]
The objective is to create a gradual transition between the augmented region and the existing bone.
Soft-tissue coverage still affects the final appearance. Even carefully tapered borders cannot guarantee that an implant will never be visible or felt.
Step 4: Reviewing and refining the design
The first version may need changes
A digital implant design can be modified before manufacturing.
The patient may prefer a different contour, or the surgeon may identify a problem with surgical access, fixation or nearby anatomical structures.
Published workflows describe collaboration between surgeons and designers during this stage. Lee and colleagues reported virtual planning sessions involving surgeons and clinical engineers, with attention to implant insertion and anatomical obstacles. [1]
A 2026 midface implant series also documented patient review, prototype assessment and final surgical approval before manufacturing. [5]
For patients working through Facial Nexus, the company can coordinate communication with the independent designer and surgeon during these revisions.
The surgeon remains responsible for assessing whether the implant is medically suitable and can be placed safely.
Step 5: Choosing the material and manufacturing the implant
PEEK or titanium?
Material selection is another part of the planning process.
PEEK facial implants are made from a medical-grade polymer that can be manufactured into patient-specific shapes. PEEK is radiolucent and has been used in craniofacial reconstruction and facial augmentation. [1] [2]
Titanium facial implants are another established option. Titanium is more rigid than PEEK and can be manufactured into patient-specific implants with planned fixation features. Mommaerts described titanium jawline implants produced through selective laser melting. [6]
Both materials have clinical applications. The choice depends on the anatomical site, implant geometry and surgical requirements.
Turning the digital design into an implant
Once the surgeon approves the design, it can move to custom implant manufacturing.
Medical-grade PEEK implants can be produced through computer-controlled milling. Specialized high-temperature 3D printing is another manufacturing method, described in a 2026 clinical implementation study. [1] [7]
Titanium implants can be produced through metal additive manufacturing, including selective laser melting. [6]
The manufacturing process must account for the approved dimensions and intended anatomical fit.
Published workflows describe quality checks, including dimensional verification, surface inspection and assessment of the implant against physical anatomical models. Appropriate sterilization is completed before surgical placement. [5] [7]
These processes vary between manufacturers and must follow the applicable medical device requirements.
Step 6: Surgical placement and fixation
Positioning the finished implant
During surgery, the surgeon reaches the intended implantation site and positions the implant against the bone.
The surgical approach depends on the facial region and implant design. The surgeon checks the fit and position before fixation. [1] [2]
Facial implant fixation often involves screws. Their positions can be planned digitally to avoid important anatomical structures and provide adequate attachment to bone. [1] [6] [5]
Some larger implants may be divided into segments. Mommaerts described interlocking connections for patient-specific titanium jawline implants, while Lee and colleagues reported interlocking components in PEEK reconstructions. [1] [6]
Accurate positioning matters because an implant placed differently from the approved plan may produce an unintended contour.
The design and surgery must work together
Digital planning defines the proposed shape and position. The surgeon must then reproduce that plan during the operation.
Patient-specific manufacturing does not eliminate surgical complications. Published studies describe possible problems including infection, altered sensation, implant exposure and residual asymmetry. [1] [6]
The design therefore needs to be suitable for the planned surgical approach, fixation and available soft-tissue coverage.
The bottom line
Custom facial implants are developed through imaging, anatomical assessment, virtual design, surgeon review and manufacturing before surgical placement.
The process allows projection, width, height and contour to be planned for the individual patient’s anatomy. Implant margins, asymmetry, fixation and surgical access all need consideration.
Facial Nexus can coordinate the connection with an independent implant designer and qualified surgeon to explore a patient-specific plan. The surgeon remains responsible for medical decisions and surgical treatment.
Frequently asked questions
Can custom facial implants be designed from a CT scan?
Yes. CT or CBCT imaging can provide the anatomical information needed to reconstruct the facial skeleton and develop patient-specific implant designs. Clinical examination and aesthetic goals also contribute to planning. [1] [3] [5]
Can each side of the face have a different implant design?
Yes. Each side can be designed according to its anatomy. Digital mirroring has been used to help correct facial asymmetry, including in patients with craniofacial malformations. [6] [3]
Can I review the design before surgery?
Published workflows include review and modification of implant designs before manufacturing. Some also describe patients reviewing proposed contours and physical prototypes. The exact process depends on the surgical team and manufacturer. [1] [6] [5]
Does a custom implant guarantee a natural result?
No. Custom planning allows the implant’s geometry to be designed for the patient’s anatomy, but the final appearance also depends on soft tissues, surgical placement and healing. [1] [4] [5]

References
- Lee NJ, Honeybone G, Anabtawi M, Thomas M, Salvi SM. Over a Decade of Maxillofacial PEEK Patient-Specific Innovation: A Retrospective Review of the Evolution from In-House Craft to Virtual Design and Remote Manufacturing. Craniomaxillofac Trauma Reconstr. 2026;19(1):8. doi:10.3390/cmtr19010008.[↩][↩][↩][↩][↩][↩][↩][↩][↩][↩][↩][↩][↩][↩]
- Alasseri N, Alasraj A. Patient-specific implants for maxillofacial defects: challenges and solutions. Maxillofac Plast Reconstr Surg. 2020;42(1):15. doi:10.1186/s40902-020-00262-7.[↩][↩][↩][↩][↩][↩]
- Kerkfeld V, Schorn L, Depprich R, Lommen J, Wilkat M, Kübler N, et al. Simultaneous PSI-Based Orthognathic and PEEK Bone Augmentation Surgery Leads to Improved Symmetric Facial Appearance in Craniofacial Malformations. J Pers Med. 2022;12(10):1653. doi:10.3390/jpm12101653.[↩][↩][↩][↩]
- Guevara-Rojas G, Figl M, Schicho K, Seemann R, Traxler H, Vacariu A, et al. Patient-specific polyetheretherketone facial implants in a computer-aided planning workflow. J Oral Maxillofac Surg. 2014;72(9):1801-1812. doi:10.1016/j.joms.2014.02.013.[↩][↩][↩][↩]
- Wang X, Wu S, Wang M, Wu T, Zheng X, Li F, et al. Integrated polyetheretherketone patient-specific implants for multi-subunit midface concavity: a retrospective case series. Front Surg. 2026;13:1868881. doi:10.3389/fsurg.2026.1868881.[↩][↩][↩][↩][↩][↩][↩][↩][↩][↩]
- Mommaerts MY. Guidelines for patient-specific jawline definition with titanium implants in esthetic, deformity, and malformation surgery. Ann Maxillofac Surg. 2016;6(2):287-291. doi:10.4103/2231-0746.200325.[↩][↩][↩][↩][↩][↩][↩][↩]
- Sharma N, Zubizarreta Oteiza J, Seiler D, Abazi S, Seifert LB, Roethlisberger M, et al. Clinical implementation of an EU MDR-compliant point-of-care manufacturing framework for patient-specific 3D-printed PEEK implants in craniomaxillofacial reconstruction. 3D Print Med. 2026;12(1):13. doi:10.1186/s41205-026-00325-x.[↩][↩]